Ef þú leitar að myndritli með persónuvernd án upphleðslu þarftu líklega ekki óljósan lista af verkfærum. Þú þarft hagnýtt vinnuflæði: margar hraðvirkar myndritilsíður krefjast upphleðslu áður en þú getur breytt stærð, þjappað, skorið eða umbreytt mynd. Hér er farið yfir réttar ákvarðanir, notkun Resizo og algeng mistök sem skaða gæði, persónuvernd eða hleðsluhraða.
Inngangur
Myndvinnsla með persónuvernd skiptir máli því myndverk eru sjaldan aðeins fagurfræðilegt verkefni. Ein of stór mynd getur hægt á vef, fallið á eyðublaðaupphleðslu, afhjúpað einkagögn eða gert vörusafn ósamræmt. Ofþjöppuð útgáfa getur gert andlit óskýrt, texta ólæsilegan og myndefni ófaglegt.
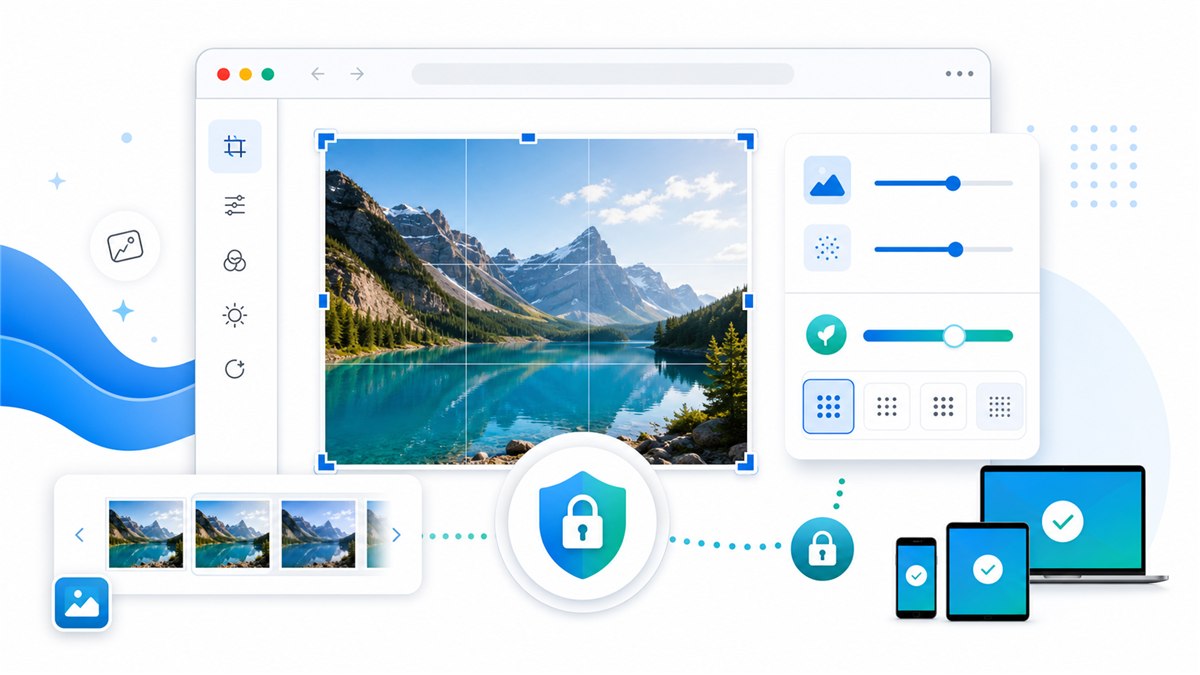
Betra vinnuflæði er einfalt: byrjaðu á birtingarstaðnum, stilltu pixlastærðina fyrst, veldu snið sem hentar efninu, flyttu út einu sinni og skoðaðu niðurstöðuna áður en þú birtir eða deilir. Resizo vinnur algengar myndaðgerðir í vafranum, svo stærðarbreyting, þjöppun, umbreyting og forskoðun geta farið fram á tækinu í stað upphleðsluferlis.
Staðbundin vinnsla er sérstaklega mikilvæg fyrir viðkvæmar skrár. Einkamyndir geta sýnt andlit, staðsetningar, skjöl, frumgerðir, innri skjámyndir eða lýsigögn. Jafnvel lögmæt skýjaþjónusta hefur annað persónuverndarlíkan en vinnsla í vafranum. Forðastu að hlaða upp frumritum nema það sé nauðsynlegt og þú treystir skilmálum þjónustunnar.
Hvað er myndritill með persónuvernd án upphleðslu?
Það er ferlið við að breyta frumriti í öruggari, minni og betur sniðna mynd fyrir ákveðinn birtingarstað. Það getur verið forsíðumynd á vef, vörusafn netverslunar, atvinnuumsókn, viðhengi í tölvupósti, samfélagsmiðlaprófíll, skjámynd í leiðbeiningum eða yfirferð viðskiptavinar.
In practical terms, the workflow includes four decisions: dimensions, format, quality, and privacy. Dimensions decide how many pixels the final image contains. Format decides whether the file should be JPEG, PNG, WebP, or another type. Quality controls the tradeoff between compression and visual detail. Privacy decides whether the original image should stay on the device or be uploaded to a cloud processor.
Modern browsers support image export through web APIs. MDN documents that canvas export can create image blobs and that formats such as PNG are required while JPEG and WebP are widely supported by many browsers. That is why browser-first tools can handle many everyday image tasks without a server round trip.
Af hverju skiptir þetta máli?
Image mistakes are expensive because they are easy to miss. A website owner may upload a 5 MB phone photo and wonder why the page feels slow. A student may compress an ID image until the text becomes unreadable. A seller may upload product photos with mismatched crops and make the whole catalog feel less trustworthy. A freelancer may send client images through a random tool because it was the first search result.
edit, resize, convert, and compress images in the browser without server storage or account friction. That is the core reason to use a focused workflow instead of guessing. The goal is not to chase the smallest possible number. The goal is to create a file that is small enough, clear enough, correctly sized, and appropriate for the privacy level of the content.
Google Search Central also recommends using standard HTML image elements, useful alt text, supported formats, structured data, and image pages that are optimized for speed and quality. In other words, image optimization is not only a design chore. It affects accessibility, search visibility, user trust, and conversion.
Helstu kostir
- Þú sparar tíma því vinnslan fer fram áður en skráin fer á vef, eyðublað eða í vefumsjónarkerfi.
- Úttakið verður fyrirsjáanlegt: nákvæmar víddir, hófleg skráarstærð og snið sem hentar birtingarstaðnum.
- Þú verndar frumritið með því að flytja út sérstakt, fínstillt afrit í stað þess að breyta einu eintakinu sem þú átt.
- Þú forðast algengan gæðaskaða eins og teygð hlutföll, endurtekna þjöppun og óþarfa stækkun.
- Þú býrð til myndir sem hlaðast auðveldlega og eru skiljanlegri fyrir leitarvélar með góðum skráarnöfnum og alt-texta.
For privacy-conscious users, agencies, remote workers, teachers, small businesses, and creators, the biggest benefit is usually control. You decide what leaves the device, what gets resized, what format is exported, and what quality level is acceptable. That control is hard to get when every small image task starts with a mandatory upload and a black-box export.
Leiðbeiningar skref fyrir skref
- Opnaðu Resizo og veldu frummyndina af tækinu þínu.
- Skilgreindu markmiðið: vefhraða, viðhengismörk, eyðublað, prófílmynd eða mynd fyrir samfélagsmiðla.
- Stilltu pixlastærðina fyrst. Að minnka 4000 px símamynd í 1600 px sparar oft mun meira en gæðastilling ein og sér.
- Haltu hlutföllunum læstum nema þú sért viljandi að skera myndina í snið vettvangsins.
- Veldu WebP fyrir vefinn, JPEG fyrir víðtækan myndstuðning og PNG fyrir gegnsæi eða skjámyndir.
- Byrjaðu með gæði um 75-85 fyrir ljósmyndir og skoðaðu smáatriðin áður en þú sækir skrána.
- Sæktu nýtt, fínstillt afrit og láttu frumritið óhreyft.
- Skoðaðu niðurstöðuna í eðlilegri stærð og við 100 prósent aðdrátt áður en þú notar hana.
Ráðlagðar stillingar
| Notkun | Ráðlagt snið eða verkfæri | Markstærð | Góð venja |
|---|---|---|---|
| Forsíðumynd vefs | WebP eða JPEG | 1600-2000 px á breidd | Nógu stór fyrir háskerpuskjái, en ekki í fullri myndavélarstærð |
| Bloggmynd | WebP eða JPEG | 1200-1600 px á breidd | Jafnaðu smáatriði og hraða hleðslu |
| Prófílmynd | JPEG eða WebP | 800 x 800 eða forstilling vettvangs | Skerðu hana ferkantaða fyrir útflutning |
| Upphleðsla á eyðublað | JPEG | Fylgdu umbeðnum pixla- eða skráarmörkum | Ekki ofþjappa læsileg skjöl |
Þessar stillingar eru upphafspunktar, ekki lögmál. Andlitsmynd, skjámynd, gegnsætt lógó og vörumynd af markaðstorgi hegða sér ólíkt. Prófaðu alltaf nokkrar dæmigerðar skrár áður en þú vinnur stóra möppu.
Góðar vinnureglur
- Start from the highest-quality original you have. Resizing a bad copy usually amplifies blur and compression blocks.
- Set dimensions before quality. Pixel count is usually the biggest driver of file size.
- Use one export pass. Reopening and recompressing the same output again and again causes visible damage.
- Keep a small test set with different image types: portrait, product, screenshot, dark photo, and transparent graphic.
- Use descriptive names such as resized-passport-photo.jpg or product-main-1200.webp instead of IMG_4829-final-final.jpg.
- Keep the exported file near relevant copy on the page and use a natural alt text, following Google image SEO guidance.
One expert habit makes a large difference: name the output based on purpose, not mood. A file called homepage-hero-1600.webp tells a future editor exactly what it is. A file called final-new-2.jpg tells them nothing and usually leads to duplicate work.
Algeng mistök
- Uploading sensitive photos to a tool before checking how the service processes and stores files.
- Forcing a fixed width and height that distorts people, products, logos, or documents.
- Upscaling a small source image and expecting true detail to appear. Upscaling can enlarge pixels, but it cannot recreate missing information.
- Using PNG for every photo. PNG is excellent for transparency and sharp graphics, but photos often become unnecessarily large.
- Ignoring the final use case. A print-quality master and a fast web preview are different files with different requirements.
- Deleting originals too soon. Always keep the source files until the optimized set is live and verified.
The most common mistake is optimizing for the wrong metric. The smallest file is not always the best file. The best file is the one that loads quickly, looks right at the size users see it, passes the destination requirement, and does not expose more private information than necessary.
Ítarleg ráð
- Create two exports for important web assets: a 1600 px master for large screens and a smaller 800 px version for thumbnails or cards.
- For ecommerce, make a consistent crop and background part of the process before compression. Visual consistency often matters as much as file size.
- For screenshots, test PNG and WebP. Text-heavy screenshots can look worse if compressed like ordinary photos.
- For forms with strict KB limits, resize dimensions first, then lower quality gradually in small steps.
- For private workflows, load the tool, disconnect from the internet, and complete local processing after the page is open.
- Document your preferred settings so team members export the same way every time.
If you manage a recurring workflow, create a small internal preset sheet. Include the target width, output format, quality range, naming pattern, and review checklist. That sheet saves more time than guessing settings every time a new batch arrives.
Raunveruleg dæmi og notkun
| Scenario | Problem | Recommended Resizo workflow |
|---|---|---|
| Job application | A phone photo is 5.8 MB but the portal allows 500 KB. | Resize the longest side to 1200 px, export JPEG at 78 quality, and check facial detail. |
| Online store | Thirty product images are different sizes and too heavy. | Batch resize to a consistent square canvas, export WebP, and keep originals archived. |
| Blog publishing | A hero image is 4032 px wide and slows the page. | Resize to 1600 px wide, export WebP, and add a descriptive filename and alt text. |
| Private document | A scanned ID image must be smaller for a form. | Use a no-upload workflow, resize only as needed, and delete the exported copy after submission if appropriate. |
Dæmi fyrir og eftir
| Before | Action | Typical result | Why it works |
|---|---|---|---|
| Phone photo, 4032 x 3024, 4.8 MB | Resize to 1600 px wide and export WebP/JPEG at 80 quality | Often 250-700 KB | Best for blogs, portfolios, and basic web uploads |
| PNG screenshot, 2880 px wide, 2.4 MB | Resize to display size and test PNG vs WebP | Often 300-900 KB | Keeps UI text readable while removing oversized pixels |
| Product image set, mixed dimensions | Batch resize to consistent canvas and rename files | Consistent gallery assets | Improves UX and avoids layout jumps |
| Private profile photo | Crop square, resize to platform size, export locally | Small, clean profile image | Avoids uploading the original high-resolution photo |
Before-and-after examples should be treated as realistic ranges, not guarantees. Compression savings depend on the original image, noise, dimensions, format, and how much visual detail must be preserved. The workflow is still reliable: resize unnecessary pixels first, choose the format for the content, then adjust quality only as far as the use case allows.
Hagnýtt vinnuflæði með Resizo án upphleðslu
Open Resizo No-Upload Image Editor, add one representative file, and run a small test. Check the preview. If the output looks right, repeat the same settings on the full batch. For sensitive files, do this before sending images through email, forms, CMS uploads, or client portals. For public web assets, combine the export with descriptive filenames, useful alt text, and image dimensions in the HTML to reduce layout shifts.
When quality matters, compare at two zoom levels. First view the image at the actual size users will see it. Then inspect at 100 percent zoom for text, faces, product edges, and transparency. If it passes both checks, the file is usually ready.
Traustar ytri heimildir
| Source | Why it is useful | URL |
|---|---|---|
| MDN HTMLCanvasElement.toBlob | Explains how browser canvas exports image blobs, formats, and quality settings. | https://developer.mozilla.org/en-US/docs/Web/API/HTMLCanvasElement/toBlob |
| web.dev Learn Images | A practical reference for web image formats, responsive images, and performance. | https://web.dev/learn/images |
| Google Image SEO Best Practices | Google guidance for discoverable images, alt text, structured data, and fast image pages. | https://developers.google.com/search/docs/appearance/google-images |
Algengar spurningar
What is Privacy-First Image Editor: Edit Images With No Upload?
Privacy-First Image Editor: Edit Images With No Upload is a practical workflow for find a private online image editor that works without uploading files. The goal is to create a smaller or better-fitted image while preserving the details that matter for the destination.
Can I do this with Resizo No-Upload Image Editor?
Yes. Resizo No-Upload Image Editor is designed for this exact workflow. You can choose dimensions, format, and quality settings, then download an optimized copy without changing the original.
Does Resizo upload my images?
For supported Resizo browser tools, the image is processed locally in your browser. That means the original file stays on your device during resizing, compression, conversion, and preview.
What format should I choose?
Use WebP for most modern web pages, JPEG for broad photo compatibility, and PNG when you need transparency, sharp UI graphics, or exact screenshot detail.
Will reducing file size always reduce quality?
Not always in a visible way. If you reduce unnecessary pixels first and use sensible quality settings, the file can become much smaller while looking the same at normal viewing size.
What quality setting is best?
For photos, start around 75-85 and inspect the result. For screenshots or graphics, test PNG and WebP because ordinary photo compression can make text and edges look rough.
Can I process many images at once?
Yes, especially for batch workflows. The practical limit depends on your browser and device memory because local tools use your own machine rather than a server queue.
Should I delete the original after exporting?
No. Keep the original until the final image has been uploaded, reviewed, and approved. Store optimized exports in a separate folder so you can regenerate them later.
How do I avoid blurry output?
Do not upscale small files, keep aspect ratio locked, export from the original, and check the result at 100 percent zoom before using it in production.
Is this good for SEO?
Yes when combined with fast file sizes, descriptive filenames, useful alt text, proper HTML image elements, and relevant page content near the image.
Niðurstaða
Privacy-First Image Editor: Edit Images With No Upload is not about chasing a magic compression number. It is about choosing the safest and most useful output for the job. Start with the destination, resize pixels before lowering quality, choose the correct format, and protect private originals. Resizo No-Upload Image Editor gives you a fast local workflow for doing that without turning a simple image task into an upload-heavy process.
Use Resizo when you want practical control: dimensions, format, quality, privacy, and batch speed. Use competitor or cloud tools only when their specific features are worth the upload and account workflow for your use case.
Leystu þetta með Resizo án upphleðslu
edit, resize, convert, and compress images in the browser without server storage or account friction
Prófaðu Resizo ókeypis